


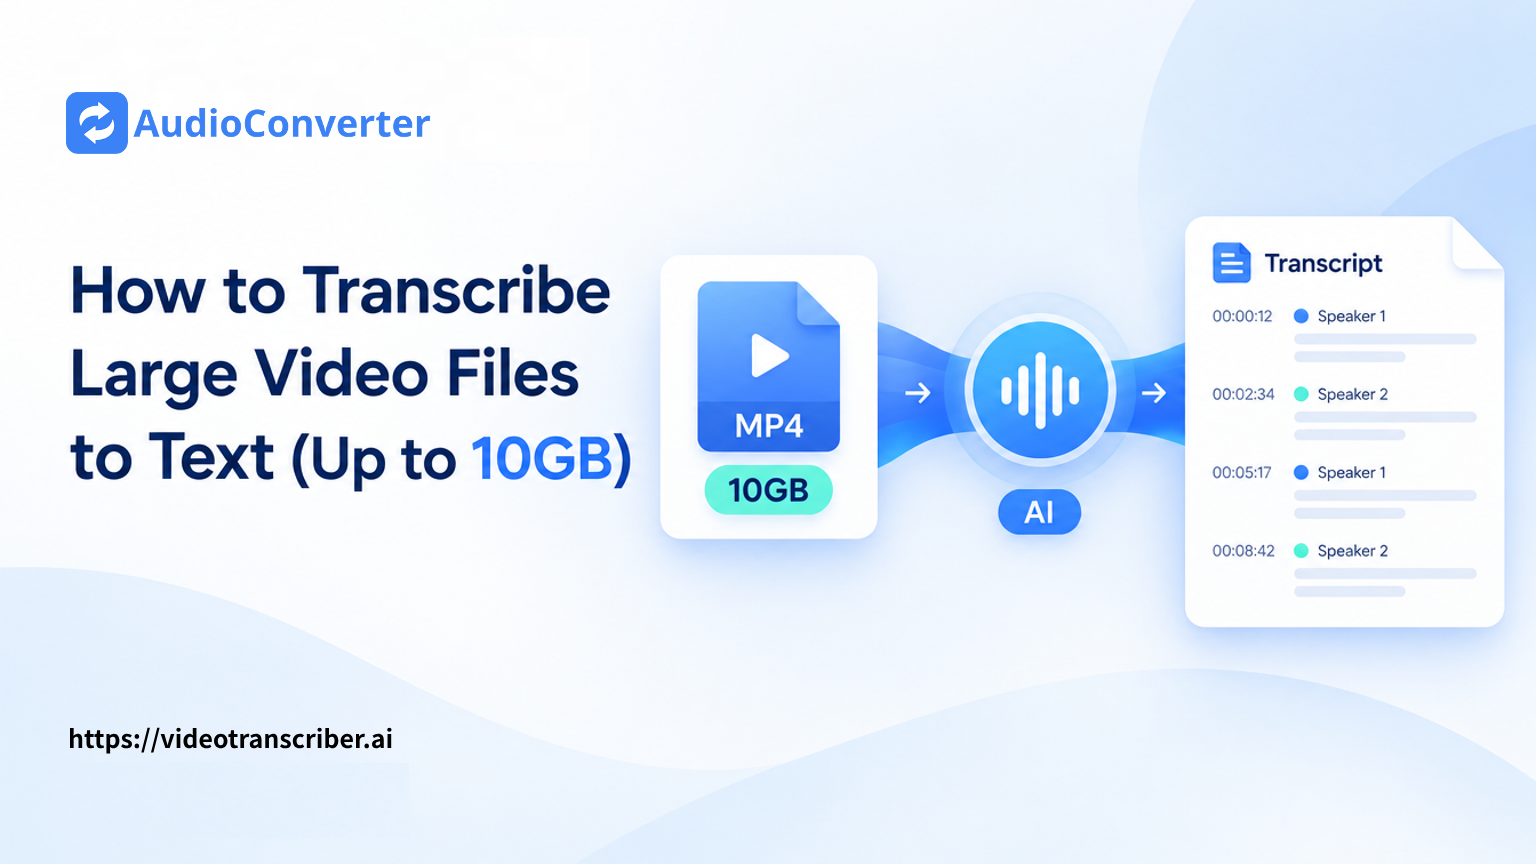
A 1GB, 5GB, or 10GB video can be difficult to transcribe, not because the recording is necessarily too long, but because many transcription tools reject the upload before processing begins.
The fastest solution is to use a transcription service that accepts the original file size. Audio Converter AI supports video and audio uploads up to 10GB on eligible paid plans. If your file exceeds the limit for your plan, or the upload is unstable, extract its audio track first. The resulting MP3 or M4A file is usually much smaller while preserving the speech needed for transcription.
Quick answer: Upload videos up to the limit shown by your transcription tool. For a file larger than the limit, or an upload that is too slow, extract the audio locally, upload the smaller audio file, and keep the original video for reference. Split the recording only when neither direct upload nor audio extraction solves the problem.
Choose the Best Method for Your File
| Your situation | Recommended method | Why |
| Video is within the displayed upload limit | Upload the video directly | Fewest steps and no conversion needed |
| Video is larger than the upload limit | Extract MP3 or M4A locally | Removes the large picture track while preserving speech |
| Upload is slow or repeatedly fails | Extract audio before uploading | A smaller file is easier to transfer reliably |
| Recording contains confidential interviews | Direct private upload or local transcription | Avoids publishing the video on a sharing platform |
| Video is already public on YouTube | Use its link or available captions | No large local upload may be required |
| You have many recordings | Use a queue or process files in batches | Reduces repeated setup work |
| Your computer has a capable GPU and privacy is critical | Run a local speech-to-text model | Media stays on your device |
Why Large Video Files Are Difficult to Transcribe
Before compressing or splitting anything, check what is actually making the file large.
File size and video length are not the same
A 30-minute 4K recording can be larger than a two-hour 720p interview. Resolution, frame rate, codec, and video bitrate often affect file size more than duration.
Speech transcription primarily needs the audio track. It does not need millions of high-resolution video frames to recognize what people said. This is why extracting audio is often a better fallback than heavily compressing the entire video.
Common reasons an upload fails
- The file exceeds the service's current size or duration limit.
- The browser loses its connection during a multi-gigabyte upload.
- The device sleeps or closes the browser tab.
- The video extension is accepted, but its internal audio codec is not.
- The file is damaged or does not play correctly near the end.
- A VPN, firewall, browser extension, or corporate network interrupts the transfer.
- There is not enough temporary memory or storage available in the browser.
Knowing which problem you have prevents unnecessary re-encoding and quality loss.
Method 1: Upload a Video of Up to 10GB Directly
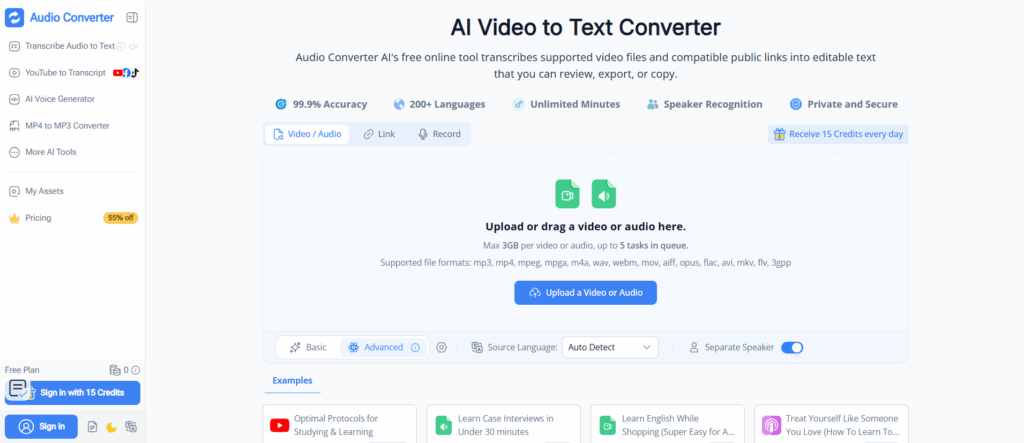
Direct upload is the simplest option when the file fits your plan's limit. Audio Converter AI's video to text converter supports video and audio files up to 10GB on eligible paid plans. Lower limits apply to other plans, so check the current pricing and your account before starting a large upload.
Step 1: Check the file before uploading
On Windows, right-click the video and choose Properties, then check Size and the Details tab. On macOS, select the video and press Command-I to open Get Info.
Record these details:
- File size
- Duration
- File extension, such as MP4, MOV, MKV, or WebM
- Resolution, such as 1080p or 4K
- Whether the entire video plays correctly
If the video is below the displayed upload limit and plays normally, try direct upload before converting it.
Step 2: Upload the original video
Drag the file into the upload area or select it from your device. Keep the browser tab open and prevent the computer from sleeping until the upload finishes.
For a large file, a wired or stable Wi-Fi connection is preferable. Closing bandwidth-heavy apps can also reduce upload interruptions.
Step 3: Choose the transcription settings
Select the spoken language when you know it. Automatic detection is convenient, but manually choosing the correct language can help with short introductions, strong accents, or multilingual interfaces.
Enable speaker separation for interviews, focus groups, meetings, or panel discussions. The first result may use generic labels such as Speaker 1 and Speaker 2; replace them with real names during review.
Step 4: Generate and inspect the transcript
Long files need more review than short clips. Do not read every line from the beginning before checking whether the result is complete. First verify:
- The transcript reaches the final minute of the video.
- Timestamps progress correctly.
- Every major speaker appears.
- There is no unexplained gap in the middle.
- The selected language matches the recording.
Then review names, numbers, quotations, acronyms, and technical terms against the original video.
Step 5: Export the format you actually need
Choose the output based on what happens next:
- TXT: research, notes, articles, and document editing
- SRT: subtitles for editors, players, and publishing platforms
- VTT: web captions and compatible online players
- Copyable text: pasting into Word, Google Docs, Notion, or a CMS
Keep a timestamped version even if you also export plain text. It is much faster to verify a quote at 01:18:42 than to scrub through the entire recording.
Method 2: Extract the Audio When the Video Is Too Large
If a video exceeds the upload limit, do not immediately divide it into dozens of clips. Remove the video track first.
A high-resolution video may use gigabytes for the picture while its complete spoken audio can fit into a much smaller file. For speech transcription, that audio copy contains the information the speech-recognition system needs.
Option A: Use a browser converter for a supported smaller file
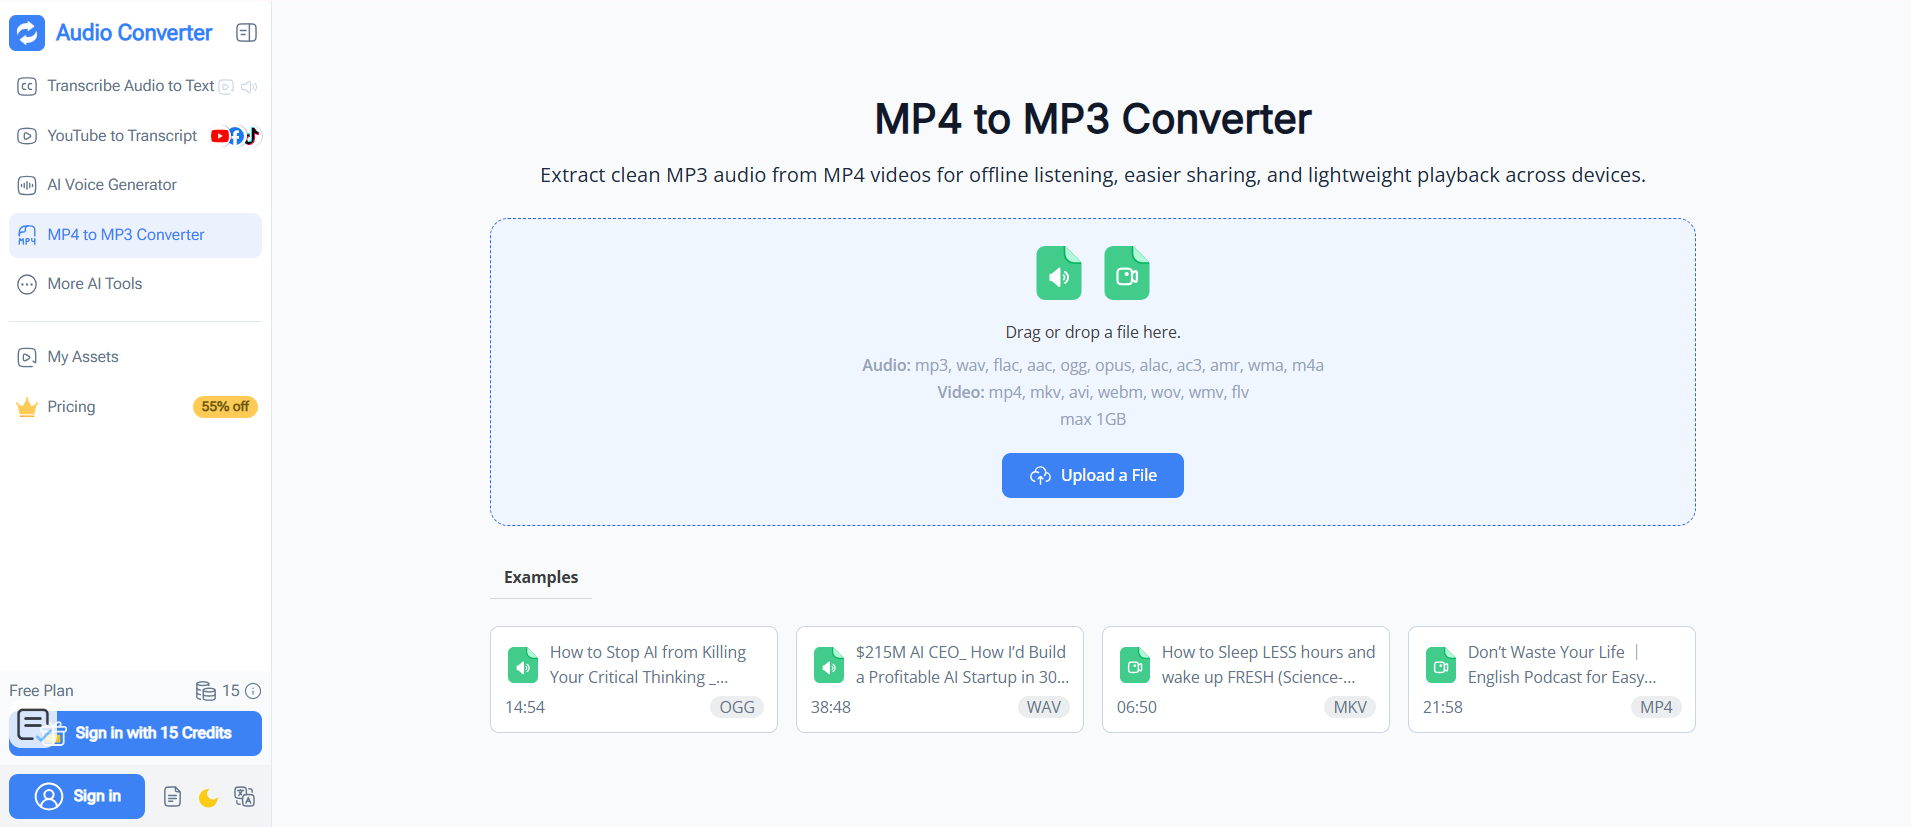
If your MP4 is within the converter's currently displayed limit, an MP4 to MP3 converter provides a simple way to extract the audio. At the time of writing, that page displays a 1GB maximum, so check the interface rather than assuming it can accept the same size as the transcription page.
Option B: Extract the audio locally with VLC
VLC is useful when you do not want to upload the full video just to create an audio copy.
- Open VLC and choose Media > Convert/Save.
- Add the large video file.
- Choose Convert.
- Select an MP3 or audio profile.
- Choose a new destination filename.
- Start the conversion and keep the original video unchanged.
Menu names vary slightly by operating system and VLC version. Confirm that the extracted audio plays from beginning to end before deleting or moving anything.
Option C: Extract the audio locally with FFmpeg
For a repeatable command-line workflow, use:
ffmpeg -i \"large-video.mp4\" -vn -ac 1 -ar 16000 -b:a 96k \"interview-audio.mp3\"
This command:
- Reads
large-video.mp4 - Removes the video stream with
-vn - Creates a mono audio file
- Uses a speech-friendly sample rate
- Writes a smaller MP3 copy without changing the original video
If audio fidelity is especially important, keep a higher bitrate or export lossless WAV instead. WAV files are much larger, so MP3 or M4A is usually more practical for long spoken recordings.
Transcribe the extracted audio
After checking the audio copy, upload it through the MP3 to text workflow. Keep the original video beside the transcript so timestamps can still be checked against the footage.
Extracting audio should not remove speech, but a poor conversion setting can reduce clarity. Always listen to the beginning, middle, and end of the new audio file before submitting it.
Method 3: Split the Recording Only When Necessary
Splitting is the fallback when both the video and extracted audio exceed the available limit, the connection remains unreliable, or the service has a duration restriction.
How to split without creating a messy transcript
- Divide the recording at natural pauses, topic changes, or breaks.
- Keep each section comfortably below the limit rather than exactly at it.
- Add five to ten seconds of overlap so a sentence is not cut in half.
- Name files in order:
interview-01,interview-02, and so on. - Record the starting time of each part in the original video.
- Remove duplicated overlap only after combining the transcripts.
If Part 2 begins at 00:48:30 in the original recording, add that offset to its local timestamps when creating a master transcript.
Avoid splitting in the middle of a speaker's answer. Speech recognition loses useful context when a clip begins with half a sentence.
Method 4: Consider YouTube or Local Transcription
Direct upload and audio extraction are usually the easiest choices, but two alternatives can be useful in specific situations.
YouTube automatic captions
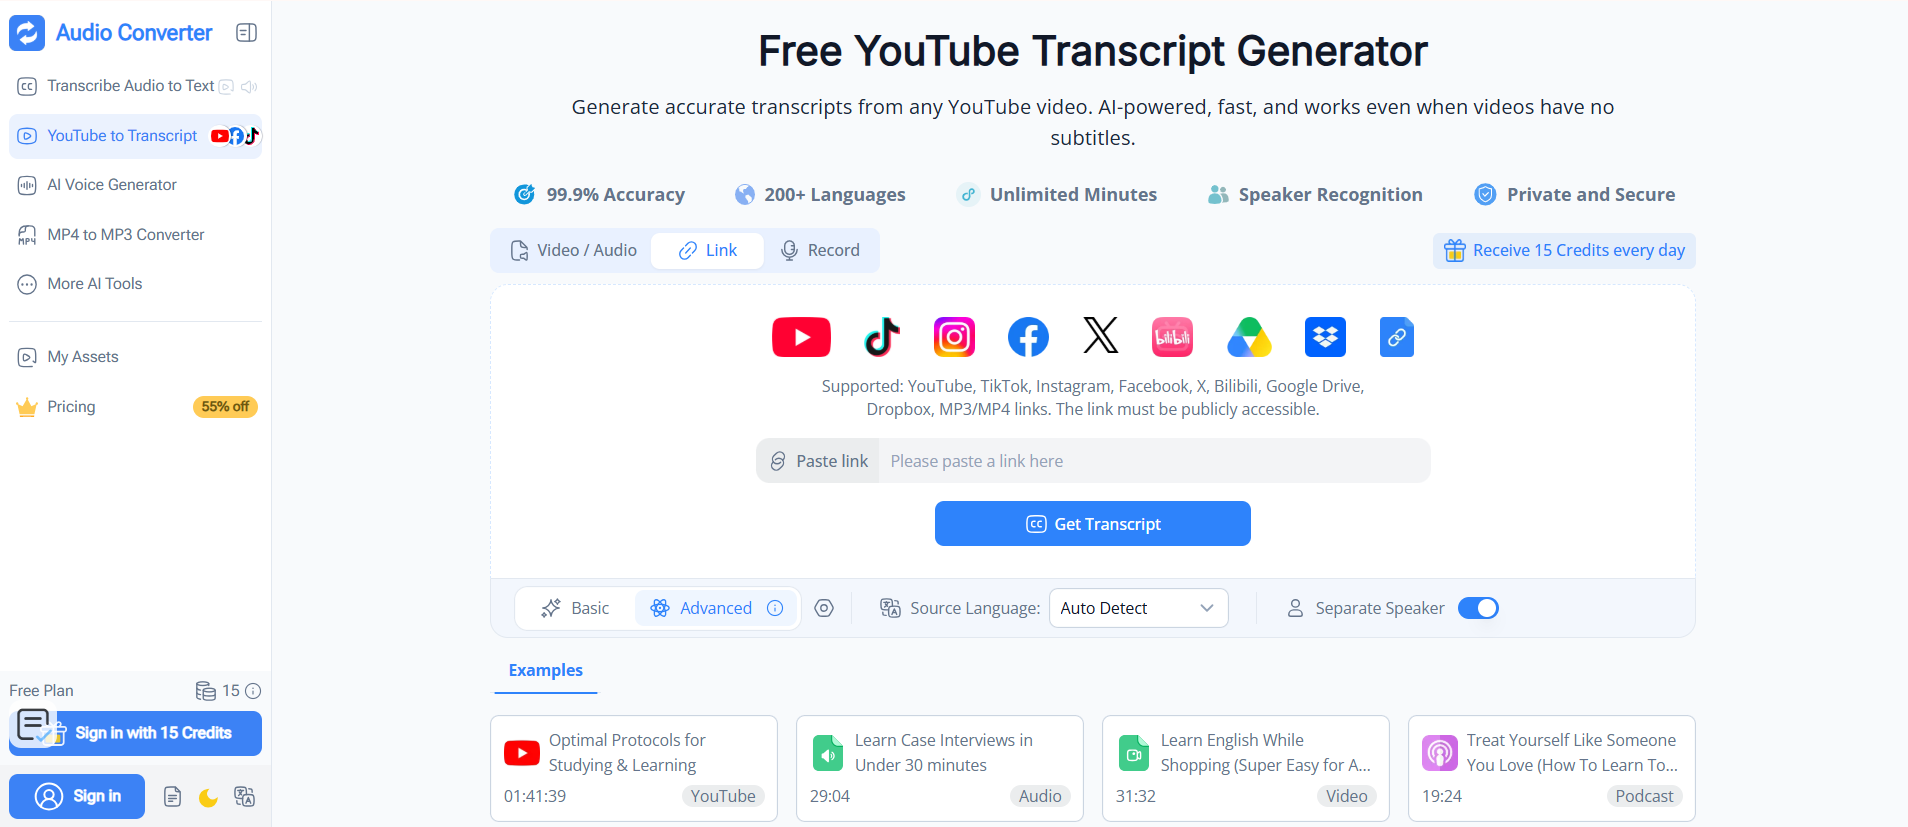
Uploading a video to YouTube can produce automatic captions that you can review in YouTube Studio. This may suit content that is already meant for YouTube.
It is a poor default for confidential interviews, legal discussions, internal meetings, unpublished research, or client footage. “Private” and “unlisted” are visibility settings—not the same thing as processing the file locally. Caption generation may also take time, and important names or technical terms still require review.
Local Whisper-based transcription
A local speech-to-text setup keeps the file on your computer and does not impose a cloud upload size limit. It can be a strong choice for sensitive material or recurring high-volume work.
The tradeoff is setup and processing power. Large models can require substantial memory, storage, and processing time. A long video may transcribe slowly on an older laptop, and you must manage speaker labels, exports, and model updates yourself.
Four Large-Video Transcription Methods Compared
| Method | Setup | Upload required | Main advantage | Main drawback | Best for |
| Direct video upload | Easy | Yes | No preprocessing | File and duration limits | Supported videos within the displayed limit |
| Extract audio first | Moderate | Audio only | Much smaller transfer | Adds one conversion step | Large 4K videos and slow connections |
| YouTube captions | Easy | Yes | Convenient for YouTube content | Privacy and caption-control concerns | Videos already intended for YouTube |
| Local speech-to-text | Technical | No | Local processing and flexible size | Setup and hardware demands | Confidential or recurring large-file work |
There is no single best method for every large file. The right choice depends on size, duration, confidentiality, connection speed, output format, and how often you perform the task.
What to Do When the Upload Fails
The upload stays at 0%
- Confirm the file is under the current limit.
- Open the site in an updated Chrome, Edge, or Safari browser.
- Disable a VPN temporarily if company policy permits it.
- Try a stable network instead of mobile data.
- Check whether a firewall or privacy extension blocks the upload domain.
The upload stops partway through
- Prevent the computer from sleeping.
- Keep the tab active and avoid switching networks.
- Restart from a fresh browser session.
- Extract the audio and upload the smaller file.
The format is listed but processing fails
MP4, MOV, and MKV are containers. Two files with the same extension can contain different video and audio codecs. If the file plays locally but repeatedly fails online, extracting or re-encoding its audio can produce a more compatible input.
The transcript ends early
First play the media around the point where the transcript stops. A damaged section or missing audio track can interrupt processing. If the original is healthy, try the audio-only copy or split the recording shortly before a natural pause.
The browser runs out of memory
Close other large tabs and apps, then retry. If the problem continues, use an audio-only file or a local transcription workflow.
How to Improve Accuracy on a Long Video
Large-file support is only useful if the result is readable. Use this checklist before publishing the transcript:
- Start with the best audio source. Camera audio from across a room will be harder to recognize than a direct microphone recording.
- Select the correct language. Do not rely on auto-detection when an episode begins with music or a short foreign-language introduction.
- Enable speaker separation. This is especially important for interviews and meetings.
- Check names and specialized terms. AI can produce fluent but incorrect versions of unfamiliar words.
- Verify numbers and quotations. Replay dates, prices, percentages, addresses, and statements you plan to quote.
- Keep timestamps during review. They shorten correction time and preserve the link to the source.
- Test a short sample when the audio is difficult. A five-minute excerpt can reveal language, noise, or speaker-label problems before you process hours of material.
- Do not improve file size by destroying the audio. Lowering video resolution is harmless to speech transcription; aggressive audio compression is not.
Privacy Checklist for Interviews and Internal Recordings
Before uploading, confirm that you are permitted to process the recording and that the chosen workflow matches its sensitivity.
- Obtain consent where required.
- Remove unrelated confidential sections when appropriate.
- Check the service's current privacy, retention, and deletion terms.
- Avoid public video platforms for sensitive material.
- Store exported transcripts with the same care as the original recording.
- Remember that a searchable transcript may expose information more quickly than a long video.
For a broader workflow that accepts supported recordings, videos, and audio formats, you can transcribe audio to text and review the current upload options before selecting a file.
Frequently Asked Questions
How can I transcribe a 10GB video file?
Use a transcription tool and plan that accepts a 10GB file. Audio Converter AI supports video and audio uploads up to 10GB on eligible paid plans. Keep the browser open during transfer, select the language and speaker settings, and verify that the transcript reaches the end of the video. If the upload remains unreliable, extract the audio locally and upload that smaller file.
Do I need to split a large video before transcription?
Usually not. Try direct upload first when the video fits the limit. If it is too large, extract the audio before splitting. Split the recording only when the audio file is still too large, a duration limit applies, or the connection cannot sustain the upload.
Does extracting audio reduce transcription accuracy?
Removing the picture track does not remove spoken content. Accuracy can fall if you create a very low-quality or distorted audio file, so use a reasonable MP3 or M4A setting and listen to several sections before transcription.
What is the best format for a long video transcription?
Upload the original video when it is supported and fits the limit. For audio-only uploads, MP3 and M4A offer smaller files and broad compatibility. WAV preserves more audio information but creates a much larger file.
Can I transcribe a large video file for free?
Some tools offer free credits, trials, or limited transcription. “Free” may still include file-size, duration, account, export, or daily-use limits. Check the current upload panel and pricing page before committing to a multi-hour recording.
How long does it take to transcribe a large video?
Processing time depends more on duration, audio quality, server demand, model, and connection speed than on video resolution alone. Uploading a 10GB file can take longer than processing it. Extracting audio may shorten the transfer even when the spoken duration stays the same.
Can I transcribe a large MP4 file without uploading the video?
Yes. Extract the audio locally with VLC or FFmpeg, then transcribe the audio file. This is useful when the video is too large or when you do not want to transfer its visual content.
Is local transcription always more private?
Local processing avoids uploading the media to a cloud service, but privacy still depends on your computer, software source, storage, backups, and export handling. Use trusted software and protect the resulting transcript.
The Simplest Reliable Workflow
For a recording of up to 10GB, check your plan's current upload limit and try the original video first. If it does not fit or the transfer fails, create a smaller audio copy and transcribe that. Split the recording only as a last resort, and always preserve timestamps so the finished text can be checked against the original footage.
The goal is not merely to make the upload succeed. It is to produce a complete, searchable transcript with speaker attribution and timestamps, without lowering audio quality or losing hours to an avoidable workaround.