


Recording a YouTube voiceover sounds simple until you try to do it every week. You need a quiet room, a decent microphone, clean takes, editing time, and enough energy to sound natural. One bad line can send you back into another recording pass.
Text to speech for YouTube removes that bottleneck. You write a spoken script, choose a voice that fits your channel, generate the narration, and place the audio inside your video editor. That makes text to speech for YouTube useful for faceless channels, tutorials, Shorts, explainers, product videos, and multilingual releases.
The best text to speech for YouTube workflow is not just pressing generate. The script has to sound spoken. The voice has to match the channel. The final audio has to support the pacing of the video. This guide shows the three-step process and the settings that make the result sound more natural.
Why YouTube Voiceovers Slow Creators Down
Recording Adds Hidden Production Work
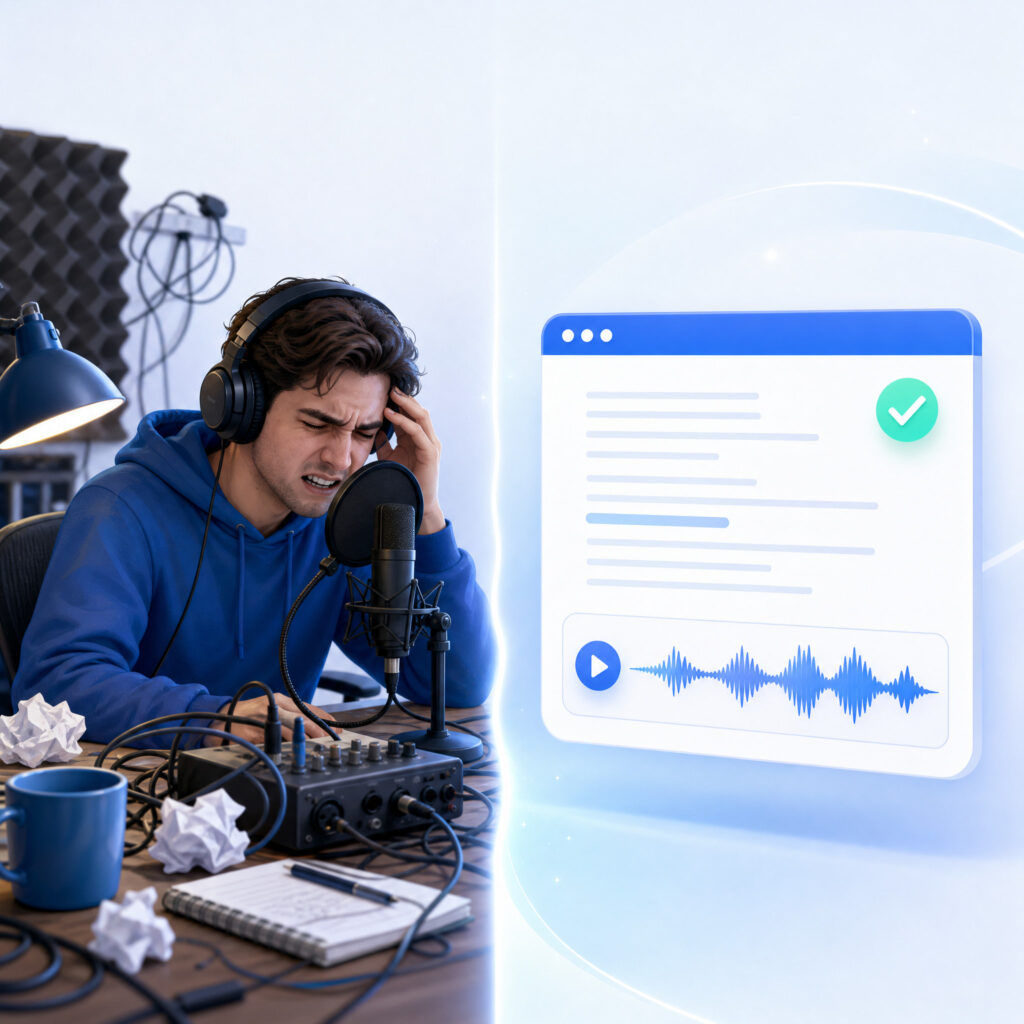
Voiceover recording creates more work than many creators expect. You write the script, warm up your voice, record several takes, remove noise, cut mistakes, balance volume, and export the final track. If one sentence changes after editing, you often have to record again.
Text to speech for YouTube turns that voiceover step into a repeatable production task. You still need a strong script, but you no longer need perfect room sound or a recording session for every upload.
For creators publishing several videos a week, this matters. A stable text to speech for YouTube workflow can save hours across a batch of Shorts, tutorials, and faceless videos.
Text to speech for YouTube also gives solo creators a cleaner production rhythm. You can draft, generate, edit, and revise without switching between writing software, recording gear, and cleanup tools.
Not Every Creator Wants to Use Their Own Voice
Some creators want privacy. Some do not like how they sound on mic. Some create videos in a second language. Some manage channels for brands and need consistent narration across many scripts.
Text to speech for YouTube gives those creators a practical voice option. The voice stays consistent, does not get tired, and can be reused across a series. That consistency helps a channel feel more professional when the visuals, editing style, and audio style all match.
This is especially useful for faceless channels. If the channel depends on screen recordings, stock footage, slides, animation, or product clips, text to speech for YouTube can provide the narration layer without forcing the creator to become an on-camera personality.
Text to speech for YouTube is also useful for creators who test several channel ideas. You can compare scripts and voices quickly before investing in a full recording setup.
Script Changes Become Easier
YouTube editing often exposes weak lines. A sentence feels too long. A hook lands slowly. A transition needs one more phrase. Human narration makes those changes costly because the creator has to reopen the recording setup.
Text to speech for YouTube makes small revisions faster. You can change one line, regenerate the audio, and replace that section in the timeline. That lets you improve the script deeper into the editing process.
This does not make writing less important. It makes revision less painful. The best text to speech for YouTube results still start with a script written for listeners, not readers.
The 3-Step Text to Speech for YouTube Workflow
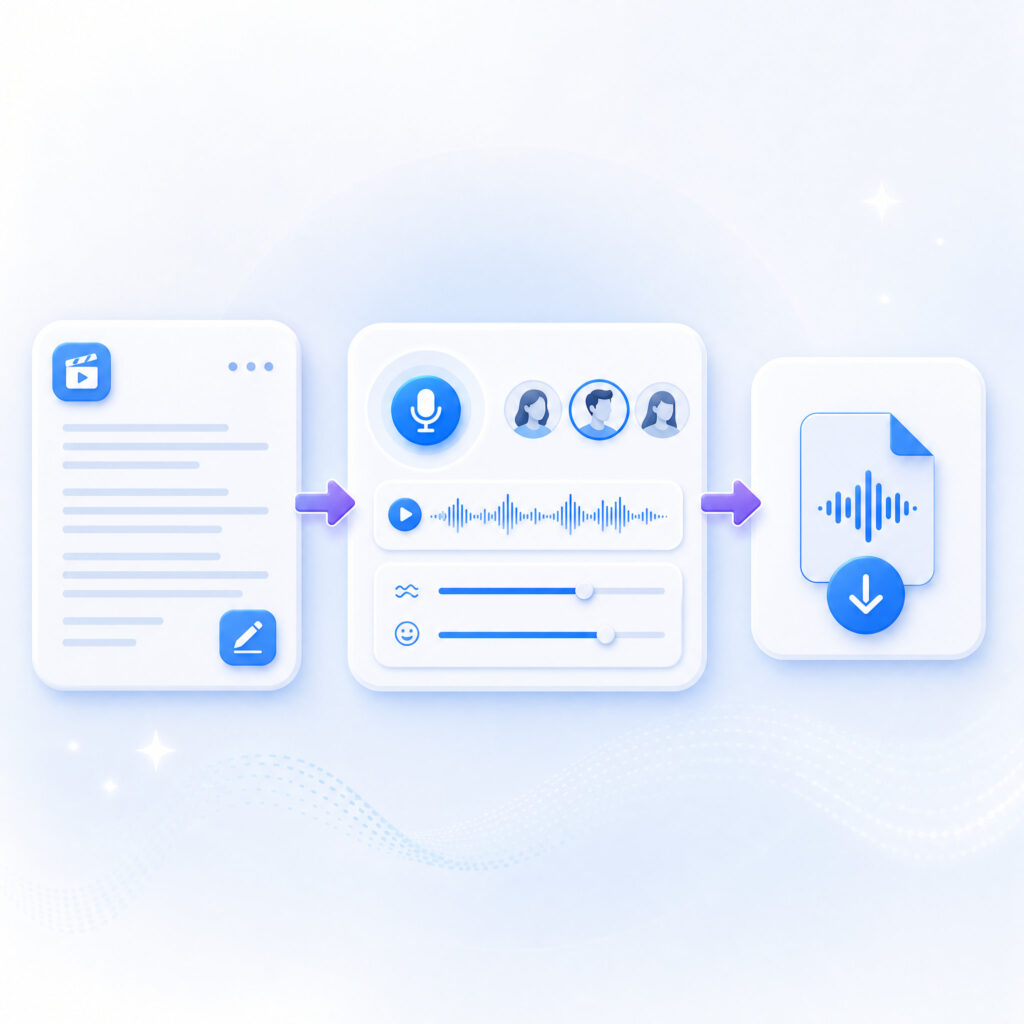
Step 1: Write a Spoken Script
Start with the script. Text to speech for YouTube works best when the words sound like a person would say them. A script written for reading often feels stiff when spoken aloud.
Use short sentences. Put one idea in each sentence. Add commas where the voice should breathe. Replace formal phrases with direct language. Read the script once out loud before generating the audio. If a line feels awkward in your mouth, it will probably sound awkward in the voiceover too.
A strong opening matters most. YouTube viewers decide quickly. Write the first fifteen seconds like a spoken hook, not a blog introduction. Tell the viewer what the video solves, why it matters, and what they will see next.
For tutorials, use clear command language. For explainer videos, define terms before examples. For entertainment channels, keep energy high but avoid shouting through every sentence. Text to speech for YouTube follows the script closely, so the script carries the performance.
Text to speech for YouTube rewards scripts that sound simple on purpose. Clear wording gives the generated voice fewer chances to stumble.
Step 2: Pick a Voice That Matches the Channel
Choose the voice after the script is ready. The right voice depends on the niche, the audience, and the pacing of the video. A calm voice works for finance, productivity, education, and software tutorials. A warmer voice fits storytelling and lifestyle content. A brighter voice fits Shorts, quick tips, and entertainment.
Use text to speech for youtube when you want to test different voices in a browser-based workflow. Keep the same anchor text whenever you add an internal link.
Do not choose a voice only because it sounds impressive in a five-second sample. Generate a full paragraph. Listen for pacing, pronunciation, pauses, and fatigue. Text to speech for YouTube needs to sound comfortable across the full video, not just the preview.
For a channel series, save one default voice. A consistent voice becomes part of the channel identity. Changing voices every upload can make the channel feel unstable, even when the visuals are strong.
Step 3: Generate, Preview, and Edit the Audio
Generate the voiceover and listen before you open the video editor. Check for mispronounced names, awkward pauses, overlong sentences, and pacing problems. Fix the script first when possible. Do not try to solve every issue inside the timeline.
After the preview sounds right, download the audio and place it into your editor. CapCut, DaVinci Resolve, Premiere Pro, Final Cut, and browser-based editors can all work with an exported audio file.
Text to speech for YouTube becomes powerful during revision. If the hook needs tightening, regenerate only the opening. If one tutorial step changes, replace that segment. If the final call to action feels too long, rewrite and generate a cleaner ending.
Add captions after the narration is stable. Captions should match the final audio, not an early script draft. This keeps the viewing experience clean for mobile users, muted viewers, and people watching in noisy spaces.
Voice Settings That Affect the Final Video
Naturalness Is the First Quality Gate
Natural delivery matters more than most voice settings. Viewers can forgive a simple visual. They are less forgiving when narration sounds flat, rushed, or mismatched to the topic.
Text to speech for YouTube should sound like a clear narrator guiding the video. It does not need to sound dramatic. It needs to sound easy to follow. Choose the most natural voice first, then adjust speed and pitch only after the voice itself feels right.
If the voice sounds robotic, check the script before blaming the tool. Long sentences, missing punctuation, and formal phrasing can make any generated narration sound worse.
Text to speech for YouTube quality usually improves fastest when you simplify the sentence before touching advanced settings.
Speed Should Match the Video Type
Playback speed shapes viewer comfort. Tutorials need space because viewers are trying to follow steps. Shorts can move faster because the visual rhythm is tighter. Deep explainers need a pace that leaves room for understanding.
Use this table as a starting point:
| Video Type | Starting Speed | Why It Works |
| Software tutorial | 0.9x to 1.0x | Viewers need time to follow actions |
| Educational explainer | 1.0x | Clarity matters more than speed |
| YouTube Short | 1.05x to 1.2x | Short-form pacing needs momentum |
| Product demo | 0.95x to 1.05x | The voice should support visual inspection |
| Recap or list video | 1.1x to 1.2x | The structure is easy to scan |
Text to speech for YouTube works best when the narration supports editing rhythm. If the timeline feels rushed, slow the voice before cutting useful information.
Text to speech for YouTube should give viewers enough time to process both the voice and the visual change on screen.
Pitch and Tone Should Fit the Topic
Pitch changes the emotional read. A lower pitch can feel calmer and more serious. A slightly brighter pitch can fit upbeat channels. Extreme changes usually sound artificial.
Tone matters too. A finance video needs trust. A gaming recap needs energy. A meditation channel needs calm. Text to speech for YouTube should match the promise of the channel before it tries to stand out.
For brand channels, define a voice standard. Choose one voice, one speed range, and one tone style. That standard helps teams produce text to speech for YouTube content without debating every upload.
Text to speech for YouTube becomes easier to scale when those settings are documented once and reused across the channel.
Punctuation Controls Pauses
Punctuation is direction for the voice. Commas create small pauses. Periods create firmer stops. Short paragraphs help the voice reset. Long blocks of text often sound breathless.
When a line sounds too fast, add punctuation before changing speed. When a transition feels abrupt, split the sentence. When a list sounds confusing, turn it into shorter lines. Text to speech for YouTube improves quickly when the script gives the voice clear signals.
When Text to Speech for YouTube Works Best
Faceless Channels
Faceless channels are a natural fit. They often use stock footage, screen recordings, animations, slide decks, or product clips. The voiceover carries the story while the visuals support it.
Text to speech for YouTube lets faceless creators publish without revealing their own voice. It also keeps narration consistent across uploads, which helps viewers recognize the channel style.
The key is not hiding the voice. The key is making the full production feel intentional. Good pacing, captions, music balance, and clean visuals all help text to speech for YouTube sound like part of the channel, not a shortcut.
Text to speech for YouTube works best for faceless content when the voice, visuals, and script all serve the same viewer promise.
Tutorials and Explainers
Tutorials reward clarity. Viewers want to know what to click, what to change, and what result to expect. A generated voice can deliver those steps consistently across a whole series.
Use text to speech for YouTube for screen recordings, product walkthroughs, software tutorials, onboarding videos, and classroom-style explainers. Keep each instruction short. Match each sentence to one visible action when possible.
If a step changes after recording the screen, update the script and regenerate that section. This keeps tutorial maintenance faster than re-recording a full voiceover.
Shorts and High-Frequency Publishing
Short-form publishing rewards speed. Creators often test several ideas a week, and recording every short narration can become a drag.
Text to speech for YouTube helps creators move from idea to upload faster. Write the hook, generate the voice, cut the visuals around the audio, add captions, and publish.
For Shorts, the first sentence should land immediately. Do not start with background. Start with the outcome, surprise, mistake, or question. Text to speech for YouTube works better when the script respects short-form attention.
Multilingual Video Releases
Multilingual channels can use generated voices to adapt one script into several markets. This is useful for product demos, education channels, travel explainers, and software tutorials.
The workflow still needs review. Translation quality, local phrasing, pronunciation, and cultural context matter. Text to speech for YouTube can create the voice layer, but the script still needs human judgment before publishing.
Start with one extra language and compare watch time, retention, and comments. If the response is strong, build a repeatable localization process.
Text to speech for YouTube can make that localization test small enough to try without rebuilding the whole production pipeline.
Why Audio Converter AI Fits This Workflow
It Starts Without Installation
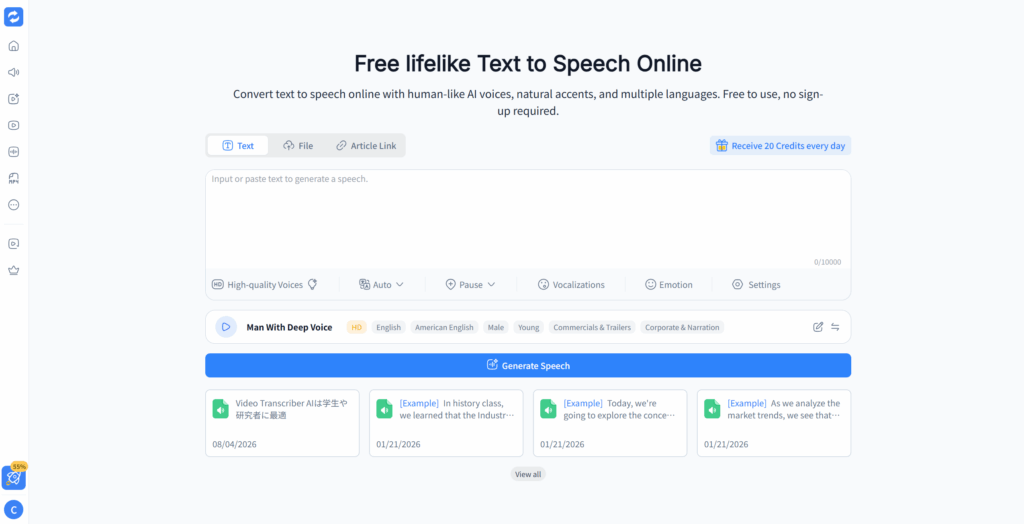
A practical text to speech for YouTube workflow should be fast to test. Audio Converter AI runs in the browser, so you can paste a script and generate a voiceover without installing a desktop recorder or mobile app.
Use text to speech for youtube to test the workflow on one script before changing your production process. A low-friction test matters because creators need proof on their own videos, not a generic feature list.
Browser access also helps teams. A writer can prepare the script, an editor can generate the voice, and a channel manager can review the final audio. Text to speech for YouTube becomes easier to share when the tool does not depend on one recording setup.
It Provides Daily Free Credits
Audio Converter AI offers daily free credits, which makes testing easier for small channels. You can try a Short script, compare voices, and hear how text to speech for YouTube fits your niche before paying for a larger plan.
Free testing is useful because voice choice is subjective. One creator may prefer a calm narrator. Another may need a faster, brighter voice. The right text to speech for YouTube setup depends on the channel, so hands-on testing beats guessing.
For longer videos, plan scripts before generating. Clean writing reduces waste, keeps revisions smaller, and makes every credit produce better audio.
It Supports Realistic Voices and Useful Controls
Natural voices make a visible difference in viewer experience. Audio Converter AI gives creators a practical way to test voice options and adjust delivery.
Use text to speech for youtube when your script needs a voice that feels consistent across a series. Keep speed, pitch, and tone settings within a narrow range so viewers hear one channel identity.
Small controls matter. A little slower pace can improve tutorials. A brighter tone can help Shorts. A calmer voice can support educational content. Text to speech for YouTube works best when the settings serve the video, not the other way around.
Text to speech for YouTube also helps when creators need the same voice style across product demos, updates, and short tutorial clips.
It Makes Revisions Less Painful
Revision is where generated narration shines. You can fix one sentence, regenerate the line, and update the timeline. That matters when a sponsor name changes, a product step moves, or a hook needs a sharper opening.
Text to speech for YouTube can also support A/B testing. Try two hooks, generate both, and compare which version feels clearer in the first ten seconds. Faster narration revision makes the whole video sharper.
Common Mistakes That Make AI Voiceovers Sound Robotic
Are You Writing for the Page Instead of the Ear?
Written language often sounds stiff when spoken. Long sentences, nested clauses, and abstract phrases make voiceovers harder to follow.
Write for the ear. Use direct sentences. Use contractions when they fit the channel. Replace dense wording with simple verbs. Text to speech for YouTube improves when the script sounds natural before it reaches the generator.
After drafting, read the script out loud. Mark every place where you stumble. Those are the lines to rewrite.
Are You Choosing the Wrong Voice?
A voice can be high quality and still wrong for the channel. A cheerful voice may weaken a serious legal explainer. A flat voice may drain an entertainment video. A dramatic voice may distract from a software tutorial.
Match voice to audience expectation. Then keep it consistent. Text to speech for YouTube should reinforce the channel promise that viewers already clicked for.
Test one paragraph from the actual video, not a generic demo phrase. Real scripts expose pacing and tone problems faster.
Text to speech for YouTube voice testing should always use the real script because the channel context changes how the voice feels.
Are You Ignoring Music and Sound Balance?
Voice quality can disappear under loud music. Many creators generate a good track and then bury it under background sound.
Keep the voice clear. Lower the music during narration. Remove sound effects that compete with key lines. Text to speech for YouTube needs the same audio mix care as recorded narration.
Export a sample and listen on phone speakers. Many YouTube viewers watch on mobile, and a mix that sounds fine on headphones may feel crowded on a small speaker.
Are You Skipping the Preview?
Previewing saves time. It catches awkward pauses, wrong emphasis, and pronunciation issues before the video timeline gets crowded.
Always generate a short test before a long script. Listen to the hook, one transition, and one technical line. Text to speech for YouTube becomes more reliable when you catch issues early.
If a name or acronym sounds wrong, spell it phonetically in the script. If a pause feels too short, add punctuation. If the tone feels wrong, choose a different voice before generating the full track.
Text to speech for YouTube previews are especially important for names, acronyms, product terms, and fast transitions.
YouTube Script Template for AI Voiceovers
Use a Simple Five-Part Structure
A clear script structure improves both narration and editing. Use this template for a tutorial, explainer, or faceless video:
| Script Part | Goal | Example Direction |
| Hook | Stop the scroll | Name the problem or result fast |
| Context | Explain why it matters | Give one reason viewers should care |
| Steps | Deliver the core value | Use one short section per action |
| Proof | Build trust | Show the result, comparison, or example |
| Close | Guide the next action | Tell viewers what to do next |
Text to speech for YouTube fits this structure because each part gives the voice a clear job. The hook needs energy. The context needs clarity. The steps need steady pacing. The close needs confidence.
Use text to speech for youtube after the five-part structure is clean, not before the script has a shape.
Keep Lines Easy to Caption
Captions improve YouTube accessibility and mobile viewing. They also make fast videos easier to follow. Write lines that fit on screen without crowding the frame.
A useful rule is simple: one spoken idea per caption moment. Text to speech for YouTube works better when the script already supports caption timing.
Short lines also help editors. Each sentence becomes easier to sync with cuts, zooms, screenshots, and product actions.
Text to speech for YouTube and captions should be planned together because both depend on clean sentence rhythm.
Add Visual Cues Before Editing
A script should tell the editor what viewers need to see. Add short visual notes before generating the final voiceover. These notes should not go into the audio, but they help you align narration with footage.
For example, mark where to show a before-and-after screen, where to zoom in, and where to add captions. Text to speech for YouTube gives you the audio track, but visual planning still decides whether the video feels polished.
FAQ
Is text to speech free for students?
Yes. Several text to speech for students options are free or free to start. Browser tools, built-in phone features, and some document readers can cover light study needs without a paid plan.
What is the best text to speech for students?
The best text to speech for students depends on the material. Audio Converter AI is a strong starting point for digital notes and downloadable audio. OCR tools are better for printed or scanned pages.
Can text to speech for students read PDFs?
Yes, but the PDF type matters. Clean digital PDFs usually work well. Scanned PDFs need OCR because the words are stored as images rather than selectable text.
Does text to speech for students help with studying?
Yes, when students use it actively. Text to speech for students works best with replay, note marking, recall checks, and short review files.
What speed should students use?
Start at 1.0x for new or dense material. Move to 1.25x for review. Use faster speeds only when the content is familiar.
Do students need a paid app?
Not always. Many students can start with free text to speech for students tools. Upgrade only when a limit blocks your workflow, such as OCR, longer text, better voices, or downloads.
How should students avoid passive listening?
Use short audio files, pause after each section, and summarize from memory. Text to speech for students should support active recall, not become background noise.
Conclusion
Text to speech for YouTube gives creators a faster way to produce narration without setting up a recording session. The process is simple: write a spoken script, choose a channel-appropriate voice, generate the audio, preview it, and place it in your editor.
The workflow works best when you treat it like production, not automation. Strong scripts still matter. Voice choice still matters. Mixing, captions, and pacing still matter. Text to speech for YouTube simply removes the recording bottleneck that slows many creators down.
Start with your next short script. Text to speech for YouTube is easiest to judge when you test it on a real video, not a sample sentence. Generate one voiceover, place it into the timeline, and compare the result against your usual process. If it saves time without weakening the video, make text to speech for YouTube part of your weekly publishing routine.