


You have a video file. You need the audio from it. You open your first search result, upload the file, and wait. And wait. Then the output sounds wrong. Wrong format. Bad quality. You start over with a different tool. Twenty minutes later, you still do not have a usable audio file.
This happens because most guides treat converting video to audio as a single button click. It rarely works that way in practice. A reliable workflow needs three things: the right input format recognition across multiple video containers, sensible output settings that match your actual use case, and a tool like an MP4 to MP3 converter that handles both without breaking midway through the process.
This post walks through a 3-step workflow to convert video to audio file that you can finish in under a minute. Each step includes the specific settings and decisions that affect your result. You will also find format comparison tables, quality guidelines for different scenarios, and a breakdown of common mistakes that waste time and degrade audio quality in any MP4 to MP3 converter session.
Why Most Video to Audio Workflows Feel Broken
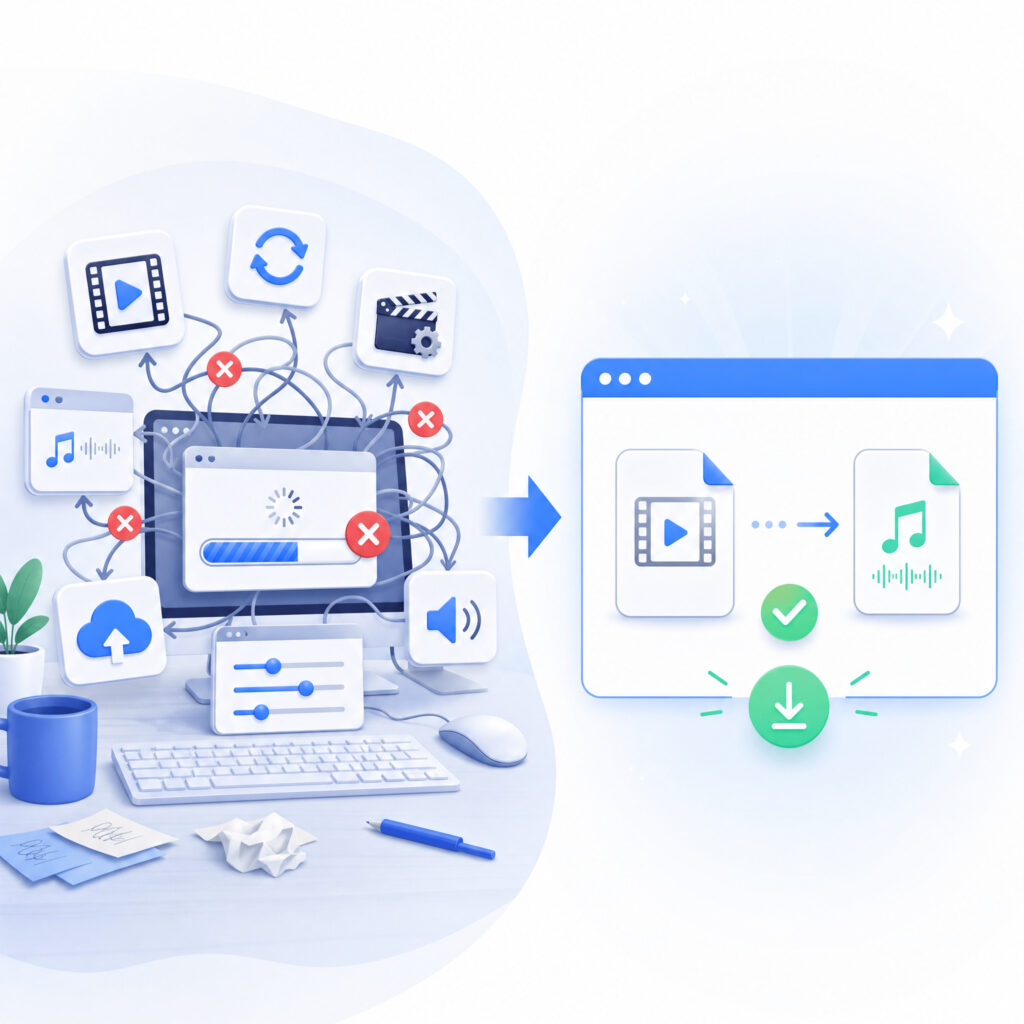
The friction in most MP4 to MP3 converter workflows comes from two places: too many unnecessary steps and default settings that quietly destroy audio quality.
Too many tools, too many steps
The typical advice sends you through a chain of actions. Download desktop software. Install it. Grant permissions. Import the video file into the application. Navigate through menus to find the export function. Configure advanced encoding parameters. Wait for the render. Then transfer the output file to wherever you actually need it.
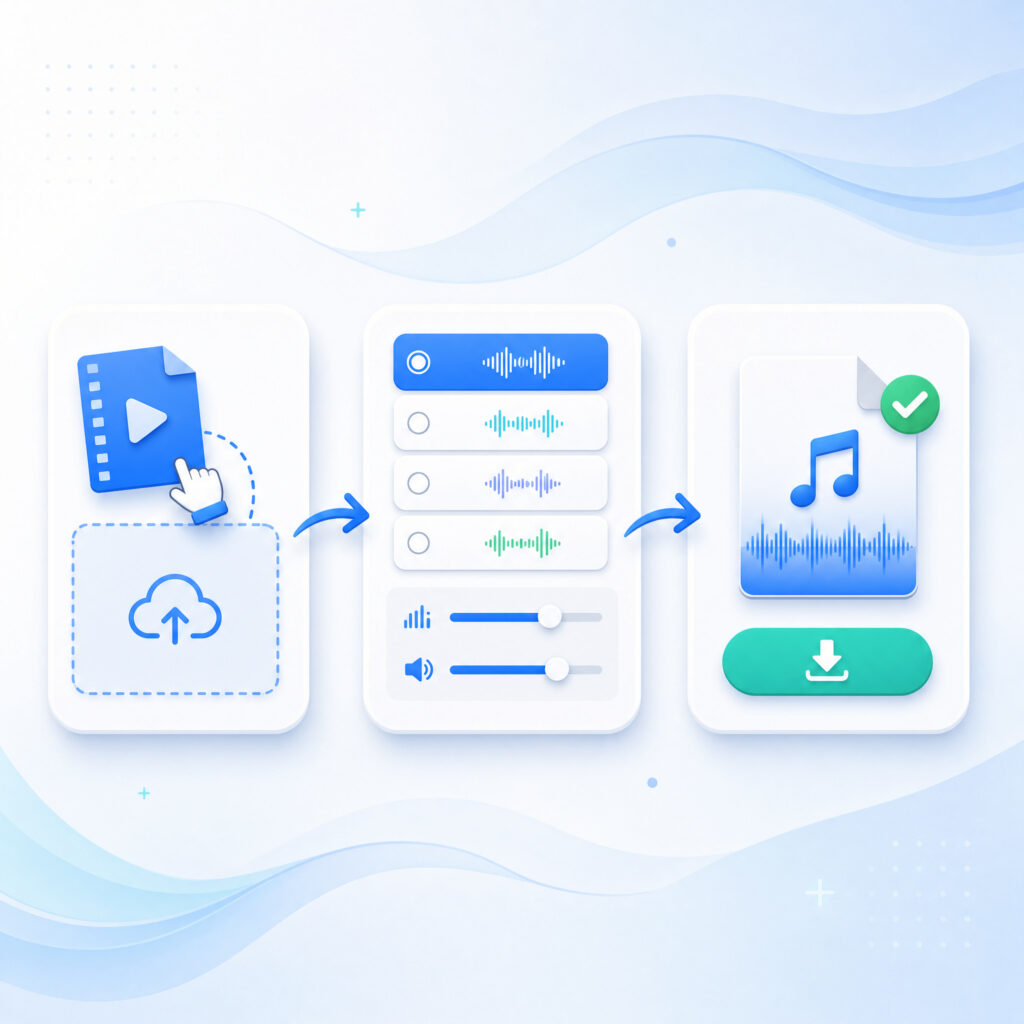
An online MP4 to MP3 converter collapses this entire chain into a single browser tab. You upload. You choose settings. You download. That is the entire pipeline for an MP4 to MP3 converter. No installation. No file transfers between applications. No encoding queues that lock up your machine. The MP4 to MP3 converter does the processing, not your local CPU.
This matters most when you need to convert video to audio file quickly, not when you want to make a production out of it. For quick extractions with an MP4 to MP3 converter, desktop software is overkill.
Quality gets lost in the process
Most MP4 to MP3 converters apply a default preset the moment you hit convert. A video soundtrack recorded at high fidelity gets squeezed into a 128kbps MP3 because the MP4 to MP3 converter picked its lowest common denominator setting. You lose clarity, dynamic range, and detail that you did not even know you were losing.
This is not a tool failure. It is an MP4 to MP3 converter workflow failure. The preset was designed for the tool's convenience, not for your MP4 to MP3 converter use case.
A proper workflow to convert video to audio file puts quality control in your hands before the MP4 to MP3 converter runs. You decide the output format in the MP4 to MP3 converter. You set the bitrate. You match the sample rate to your downstream workflow. The tool executes your choices instead of making assumptions.
The 3-Step Workflow to Convert Video to Audio File
Here is the complete workflow. Each step includes the specific decisions that determine whether your output audio sounds clean, professional, and ready to use.
Step 1: Upload Your Video File
Open your MP4 to MP3 converter in a browser tab to start the MP4 to MP3 extraction. Drag your video file into the upload area, or click to browse and select it from your device.
The MP4 to MP3 converter accepts these video formats as input:
| Video Format | Container Type | Common Source |
| MP4 | Universal | Screen recordings, phone cameras, downloaded videos |
| MKV | Open-source | High-quality rips, multi-track video files |
| AVI | Legacy | Older cameras, archival footage |
| WebM | Web-optimized | Browser recordings, web-based video content |
| MOV | Apple ecosystem | iPhone recordings, Final Cut exports |
| WMV | Windows legacy | Windows Media Player exports, older presentations |
| FLV | Flash legacy | Downloaded streaming content, older web videos |
File size caps at 1GB per video. This covers most source material for the MP4 to MP3 converter, including 4K recordings and long-form content over an hour. If your file exceeds 1GB, trim the unnecessary sections first or compress the video before your MP4 to MP3 extraction. For nearly all practical use cases, from podcast episodes to lecture recordings to meeting archives, the 1GB limit of the MP4 to MP3 converter is more than enough.
MP4 to MP3 upload processing happens securely. Files in the MP4 to MP3 converter are encrypted during transfer and stored in isolated environments. No content is accessible outside your session. The MP4 to MP3 converter automatically removes uploaded files after conversion completes.
Step 2: Choose Your Output Format and Settings
This is the step that separates a usable audio file from a wasted MP4 to MP3 conversion. Do not skip past it.
Start by picking your output format. Each format serves a different purpose:
| Output Format | Compression | Best For | File Size | Typical Use Case |
| MP3 | Lossy | General use, sharing, playback | Small | Podcast distribution, phone libraries, email attachments |
| WAV | Lossless | Editing, archiving, mastering | Large | DAW import, professional editing, archival masters |
| AAC | Lossy (more efficient than MP3) | Apple ecosystem, streaming | Small (better quality than MP3 at same bitrate) | Apple Podcasts, YouTube uploads, iOS playback |
| FLAC | Lossless, compressed | Audiophile archiving | Medium | Music library archiving, high-fidelity collections |
Match the format in the MP4 to MP3 converter to your end goal. Extracting audio for a podcast episode you plan to edit in a DAW? Pick WAV in the MP4 to MP3 converter. You need an uncompressed source to work from. Editing a lossy MP3 and re-exporting it compounds compression artifacts with each generation.
Need a quick MP3 for your phone? An online MP4 to MP3 converter handles this in seconds and keeps file sizes small. Uploading to Apple Podcasts or YouTube? AAC delivers better perceived quality per megabyte than MP3 at equivalent bitrates. Archiving a music collection from video files in the MP4 to MP3 converter? FLAC gives you lossless quality with smaller file sizes than WAV.
Next, configure your quality settings for the MP4 to MP3 output. Two parameters matter:
Bitrate controls how much audio data the MP4 to MP3 converter stores per second. Higher bitrates preserve more detail:
- 96-128 kbps: Fine for spoken content. Voice carries enough information at these rates. Podcasts, lectures, meeting recordings, and audiobooks all sound clear at 128 kbps.
- 192-256 kbps: Better for mixed content with background music or sound effects. Webinars, video essays, and tutorial content benefit here.
- 320 kbps: Best for music-heavy videos and high-fidelity source material. Preserves nearly all audible detail from the original recording.
For lossless formats like WAV and FLAC, bitrate is not a factor. The MP4 to MP3 converter keeps the output matching the source exactly.
Sample rate determines how many audio snapshots your MP4 to MP3 conversion captures per second:
- 44.1 kHz: The CD standard. Works for everything. Podcasts, music, voice recordings all sound correct at this rate.
- 48 kHz: The video production standard. Use this if your audio will sync with video in editing software like Premiere Pro or DaVinci Resolve.
Stick with 44.1 kHz unless your editing pipeline specifically requires 48 kHz. The audible difference between the two is negligible, and 44.1 kHz produces slightly smaller files.
Step 3: Convert and Download
Click convert and let the MP4 to MP3 converter finish the extraction. A good MP4 to MP3 converter processes small files in as little as 3 seconds, while larger files near the 1GB limit take proportionally longer. WAV and FLAC conversions require more time due to higher data throughput compared to compressed MP3 or AAC output.
Once the MP4 to MP3 converter finishes, download your audio file. Save the MP4 to MP3 converter output to the folder you will actually use it from. Your editing project folder. Your podcast assets directory. Your phone's media library. Avoiding a second file transfer step keeps the MP4 to MP3 converter workflow fast end to end.
Before closing the MP4 to MP3 converter tab, verify your output. Play the first five seconds and the last five seconds of the file. Check that the audio starts at the correct point and that nothing is cut off at the end. If something sounds off, adjust your format or bitrate and run the MP4 to MP3 conversion again. The MP4 to MP3 converter is fast enough that a second pass costs you seconds, not minutes.
MP4 to MP3 Converter Workflow: Convert Video to Audio File in 3 Steps
You have a video file. You need the audio from it. You open your first search result, upload the file, and wait. And wait. Then the output sounds wrong. Wrong format. Bad quality. You start over with a different tool. Twenty minutes later, you still do not have a usable audio file.
This happens because most guides treat converting video to audio as a single button click. It rarely works that way in practice. A reliable workflow needs three things: the right input format recognition across multiple video containers, sensible output settings that match your actual use case, and a tool like an MP4 to MP3 converter that handles both without breaking midway through the process.
This post walks through a 3-step workflow to convert video to audio file that you can finish in under a minute. Each step includes the specific settings and decisions that affect your result. You will also find format comparison tables, quality guidelines for different scenarios, and a breakdown of common mistakes that waste time and degrade audio quality in any MP4 to MP3 converter session.
using clean workflow to work
Why Most MP4 to MP3 Converter Workflows Feel Broken
The friction in most MP4 to MP3 converter workflows comes from two places: too many unnecessary steps and default settings that quietly destroy audio quality.
Too many tools, too many steps
The typical advice sends you through a chain of actions. Download desktop software. Install it. Grant permissions. Import the video file into the application. Navigate through menus to find the export function. Configure advanced encoding parameters. Wait for the render. Then transfer the output file to wherever you actually need it.
An online MP4 to MP3 converter collapses this entire chain into a single browser tab. You upload. You choose settings. You download. That is the entire pipeline. No installation. No file transfers between applications. No encoding queues that lock up your machine. The MP4 to MP3 converter does the processing, not your local CPU.
This matters most when you need to convert video to audio file quickly, not when you want to make a production out of it. For quick extractions with an MP4 to MP3 converter, desktop software is overkill.
Quality gets lost in the process
Most MP4 to MP3 converters apply a default preset the moment you hit convert. A video soundtrack recorded at high fidelity gets squeezed into a 128kbps MP3 because the MP4 to MP3 converter picked its lowest common denominator setting. You lose clarity, dynamic range, and detail that you did not even know you were losing.
This is not a tool failure. It is an MP4 to MP3 converter workflow failure. The preset was designed for the tool's convenience, not for your MP4 to MP3 converter use case.
A proper workflow to convert video to audio file puts quality control in your hands before the MP4 to MP3 converter runs. You decide the output format. You set the bitrate. You match the sample rate to your downstream workflow. The tool executes your choices instead of making assumptions.
The 3-Step MP4 to MP3 Converter Workflow
Here is the complete workflow. Each step includes the specific decisions that determine whether your output audio sounds clean, professional, and ready to use.
3 step to use convert tool
Step 1: Upload Your Video File
Open your MP4 to MP3 converter in a browser tab to start the MP4 to MP3 extraction. Drag your video file into the upload area, or click to browse and select it from your device.
The MP4 to MP3 converter accepts these video formats as input:
| Video Format | Container Type | Common Source |
| MP4 | Universal | Screen recordings, phone cameras, downloaded videos |
| MKV | Open-source | High-quality rips, multi-track video files |
| AVI | Legacy | Older cameras, archival footage |
| WebM | Web-optimized | Browser recordings, web-based video content |
| MOV | Apple ecosystem | iPhone recordings, Final Cut exports |
| WMV | Windows legacy | Windows Media Player exports, older presentations |
| FLV | Flash legacy | Downloaded streaming content, older web videos |
File size caps at 1GB per video. This covers most source material, including 4K recordings and long-form content over an hour. If your file exceeds 1GB, trim the unnecessary sections first or compress the video before your MP4 to MP3 extraction. For nearly all practical use cases, from podcast episodes to lecture recordings to meeting archives, the 1GB limit is more than enough.
MP4 to MP3 upload processing happens securely. Files are encrypted during transfer and stored in isolated environments. No content is accessible outside your session. The MP4 to MP3 converter automatically removes uploaded files after conversion completes.
Step 2: Choose Your Output Format and Settings
This is the step that separates a usable audio file from a wasted MP4 to MP3 conversion. Do not skip past it.
Start by picking your output format. Each format serves a different purpose:
| Output Format | Compression | Best For | File Size | Typical Use Case |
| MP3 | Lossy | General use, sharing, playback | Small | Podcast distribution, phone libraries, email attachments |
| WAV | Lossless | Editing, archiving, mastering | Large | DAW import, professional editing, archival masters |
| AAC | Lossy (more efficient than MP3) | Apple ecosystem, streaming | Small (better quality than MP3 at same bitrate) | Apple Podcasts, YouTube uploads, iOS playback |
| FLAC | Lossless, compressed | Audiophile archiving | Medium | Music library archiving, high-fidelity collections |
Match the format to your end goal. Extracting audio for a podcast episode you plan to edit in a DAW? Pick WAV. You need an uncompressed source to work from. Editing a lossy MP3 and re-exporting it compounds compression artifacts with each generation.
Need a quick MP3 for your phone? An online MP4 to MP3 converter handles this in seconds and keeps file sizes small. Uploading to Apple Podcasts or YouTube? AAC delivers better perceived quality per megabyte than MP3 at equivalent bitrates. Archiving a music collection from video files? FLAC gives you lossless quality with smaller file sizes than WAV.
Next, configure your quality settings for the MP4 to MP3 output. Two parameters matter:
Bitrate controls how much audio data the MP4 to MP3 converter stores per second. Higher bitrates preserve more detail:
- 96-128 kbps: Fine for spoken content. Voice carries enough information at these rates. Podcasts, lectures, meeting recordings, and audiobooks all sound clear at 128 kbps.
- 192-256 kbps: Better for mixed content with background music or sound effects. Webinars, video essays, and tutorial content benefit here.
- 320 kbps: Best for music-heavy videos and high-fidelity source material. Preserves nearly all audible detail from the original recording.
For lossless formats like WAV and FLAC, bitrate is not a factor. The MP4 to MP3 converter keeps the output matching the source exactly.
Sample rate determines how many audio snapshots your MP4 to MP3 conversion captures per second:
- 44.1 kHz: The CD standard. Works for everything. Podcasts, music, voice recordings all sound correct at this rate.
- 48 kHz: The video production standard. Use this if your audio will sync with video in editing software like Premiere Pro or DaVinci Resolve.
Stick with 44.1 kHz unless your editing pipeline specifically requires 48 kHz. The audible difference between the two is negligible, and 44.1 kHz produces slightly smaller files.
Step 3: Convert and Download
Click convert and let the MP4 to MP3 converter finish the extraction. A good MP4 to MP3 converter processes small files in as little as 3 seconds, while larger files near the 1GB limit take proportionally longer. WAV and FLAC conversions require more time due to higher data throughput compared to compressed MP3 or AAC output.
Once the MP4 to MP3 converter finishes, download your audio file. Save the MP4 to MP3 converter output to the folder you will actually use it from. Your editing project folder. Your podcast assets directory. Your phone's media library. Avoiding a second file transfer step keeps the MP4 to MP3 converter workflow fast end to end.
Before closing the MP4 to MP3 converter tab, verify your output. Play the first five seconds and the last five seconds of the file. Check that the audio starts at the correct point and that nothing is cut off at the end. If something sounds off, adjust your format or bitrate and run the MP4 to MP3 conversion again. The MP4 to MP3 converter is fast enough that a second pass costs you seconds, not minutes.
four using case
Format and Quality Settings for the MP4 to MP3 Converter
Different use cases demand different settings. Here is a quick-reference table mapping common scenarios to the optimal configuration when you convert video to audio file:
| Scenario | Input | Output Format | Bitrate | Sample Rate | Why |
| Podcast episode from video recording | MP4 | MP3 | 128 kbps | 44.1 kHz | Balances quality and file size for distribution platforms |
| Music video audio extraction | MKV | FLAC | N/A (lossless) | 44.1 kHz | Preserves source fidelity for library archiving after MP4 to MP3 extraction |
| Meeting recording archive | MP4 | MP3 | 96 kbps | 44.1 kHz | Minimal file size for long recordings; speech clarity preserved |
| Video editing project audio source | MOV | WAV | N/A (lossless) | 48 kHz | Uncompressed source prevents generational quality loss |
| Social media short soundtrack | WebM | AAC | 192 kbps | 44.1 kHz | Efficient codec optimized for web and mobile playback |
| Lecture recording for study review | AVI | MP3 | 128 kbps | 44.1 kHz | Compact enough for phone storage, clear enough for comprehension |
| High-fidelity concert recording | MKV | WAV | N/A (lossless) | 44.1 kHz | Full quality preservation for remastering or critical listening |
These MP4 to MP3 converter settings are starting points, not absolute rules. Adjust based on your source quality. A poorly recorded meeting at 64 kbps already lost the detail that a 320 kbps output would attempt to preserve. Match your output settings to the actual quality of your source material in every MP4 to MP3 conversion, not to an ideal.
When to Use This MP4 to MP3 Converter Workflow
This MP4 to MP3 converter workflow fits scenarios where speed, quality control, and format flexibility matter more than batch processing or advanced audio manipulation. Here are the most common situations:
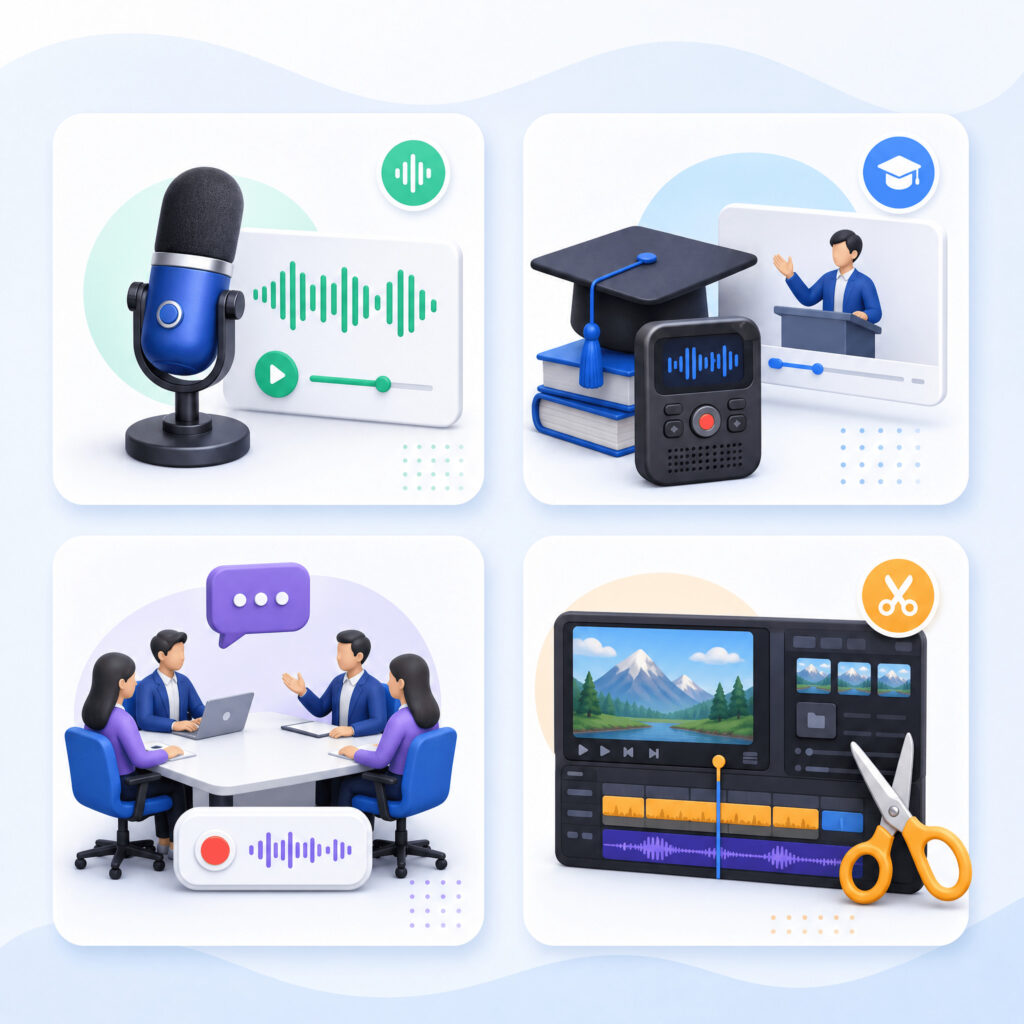
Podcasters and content creators. You record video episodes and need audio-only versions for distribution on Spotify, Apple Podcasts, or your RSS feed. Extract the audio track from your video master with a clean pass through the MP4 to MP3 converter, apply basic cleanup in your DAW, and publish. One MP4 to MP3 converter pass, one edit pass, done.
Students and researchers. You record lectures or interviews as video and need audio for review during commutes. Run the MP4 to MP3 converter and save the file to your phone, and you can study anywhere without draining your battery playing video you do not need to watch. Timestamped audio also makes it easier to jump to specific sections during review.
Business teams. You archive recorded video meetings. Video files eat storage fast. A one-hour meeting as MP4 can run 500MB to over 1GB. The same meeting converted through MP4 to MP3 conversion shrinks to roughly 55MB, an over 90 percent reduction in storage footprint. Your team can reference past discussions after MP4 to MP3 conversion without filling up cloud storage.
Video editors. You receive client footage in various video formats and need to extract audio for separate processing in a DAW. Converting each clip to WAV in your MP4 to MP3 converter workflow gives you uncompressed audio that handles multiple edit passes without accumulating artifacts. Import once from the MP4 to MP3 converter, edit freely.
Language learners. You download foreign-language video content and want a video to MP3 file for focused listening practice. Playing audio-only files from the MP4 to MP3 converter on repeat is less distracting than replaying video and easier on device battery life during long study sessions.
In every case, the goal of the MP4 to MP3 converter is the same: get clean, correctly formatted audio out of a video container, fast, with control over the output quality. The workflow stays the same regardless of the specific scenario.
Why Audio Converter AI's MP4 to MP3 Converter Simplifies This Workflow
Audio Converter AI includes a dedicated MP4 to MP3 converter designed around the 3-step workflow described above.
You open the MP4 to MP3 converter in any modern browser. No download. No account required for basic use. You drag a video file into the upload area and the MP4 to MP3 converter recognizes the format immediately, whether it is MP4, MKV, AVI, WebM, MOV, WMV, or FLV.
You select from MP3, WAV, AAC, or FLAC as the output target. You set the bitrate and sample rate to match your use case, using the guidelines from the tables above. You click convert. Processing starts immediately, and smaller files finish in as little as 3 seconds.
Several design decisions make this tool a natural fit for a clean conversion workflow:
Speed-first processing in the MP4 to MP3 converter. The encoding pipeline is optimized to run in your browser session without relying on server-side queues. You spend less time staring at a progress bar.
Full format coverage in the MP4 to MP3 converter. Seven video input formats and four audio output formats cover nearly every practical scenario. You rarely need a fallback tool for edge cases.
Privacy by default in the MP4 to MP3 converter. Files are encrypted during transfer and while at rest during processing. The tool automatically removes all uploaded and converted files after the conversion completes. Your content is not stored, indexed, or used for training models. The file belongs to you, start to finish.
Quality settings that stick in the MP4 to MP3 converter. You choose the bitrate and sample rate. The tool respects your settings. It does not silently downscale your output to a lower quality tier to save processing resources.
For anyone who needs to convert video to audio file as part of a regular workflow, not as a one-off experiment, these four points matter. They turn MP4 to MP3 conversion, a task that most people overcomplicate, into a repeatable, low-effort habit. And when you convert video to audio file multiple times a week, habits beat hacks every time. They remove the friction points that make most MP4 to MP3 converters frustrating to use more than once.
Common Mistakes When You Use an MP4 to MP3 Converter
Even with a clean MP4 to MP3 converter workflow, certain errors show up repeatedly. Here are the four most frequent ones and how to avoid them.
Picking the wrong output format for editing
MP3 is a safe default for listening. It is the wrong format for editing. If you plan to bring the audio from your MP4 to MP3 conversion into a DAW, apply EQ, compression, or any processing, start with WAV. MP3 compression introduces artifacts that compound with each re-encode. A WAV file edited and exported once as MP3 sounds fine. An MP3 file edited and re-exported as MP3 degrades noticeably by the second generation. Start lossless with the MP4 to MP3 converter, edit once, export to your delivery format at the end.
Ignoring bitrate when it actually matters
Voice-only content at 128 kbps sounds identical to 320 kbps on standard playback equipment. Music and mixed content do not. The high-frequency detail in cymbals, room ambience, and instrumental textures gets discarded at lower bitrates. If the source video you run through the MP4 to MP3 converter contains music, a soundtrack, or any content where audio fidelity matters to the listener, set the MP4 to MP3 converter to 256-320 kbps for MP3 or switch to FLAC.
Converting files that exceed the size limit without checking first
Most online converters cap file uploads at a specific size. The 1GB limit handles nearly all practical scenarios, but raw 4K footage and multi-hour recordings can exceed this. Check your file size before starting the upload in the MP4 to MP3 converter. If it exceeds the limit, split the video into segments before extraction, trim the content to the sections you need, or use a local desktop tool for that specific file. A five-second file size check saves you from a failed upload and a wasted attempt.
Skipping the output quality check
Download the file your MP4 to MP3 converter produced. Play it. Listen to the beginning, the middle, and the end. A 10-second check catches format mismatches, truncated audio, sync drift, and silent sections that the conversion preview might not reveal. Re-converting with the MP4 to MP3 converter and corrected settings takes seconds. Discovering the error after you deleted the source file means starting over from scratch.